As soon as you place the point revit resolves the new surface by triangulating it.
Create floor boundary revit.
Values 0 this is not needed but helps package needed elements to make floor.
Select walls in the drawing area to use as floor boundaries.
Rr buildings recommended for you.
Use pick lines to apply area rules see the following procedures for details.
There are several different tasks that you can automate in revit once you have the boundaries of an element.
To pick area boundaries click modify place area boundary tabdraw panel pick lines.
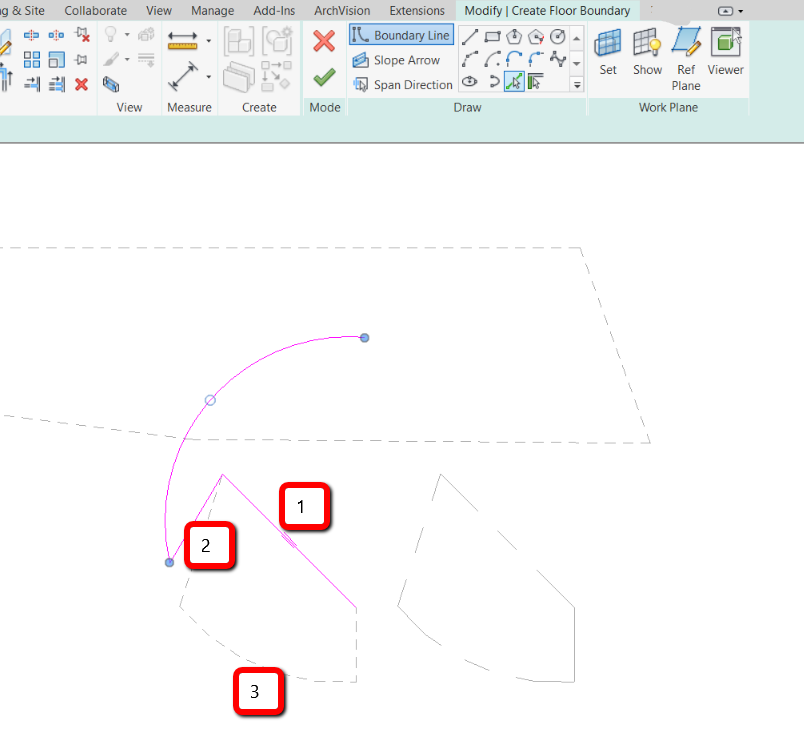
So in the property palette under the branch of constraints we check and make sure the parameter level is 1f then we can start to sketch the floor boundaries.
The floor boundary must be a closed loop profile.
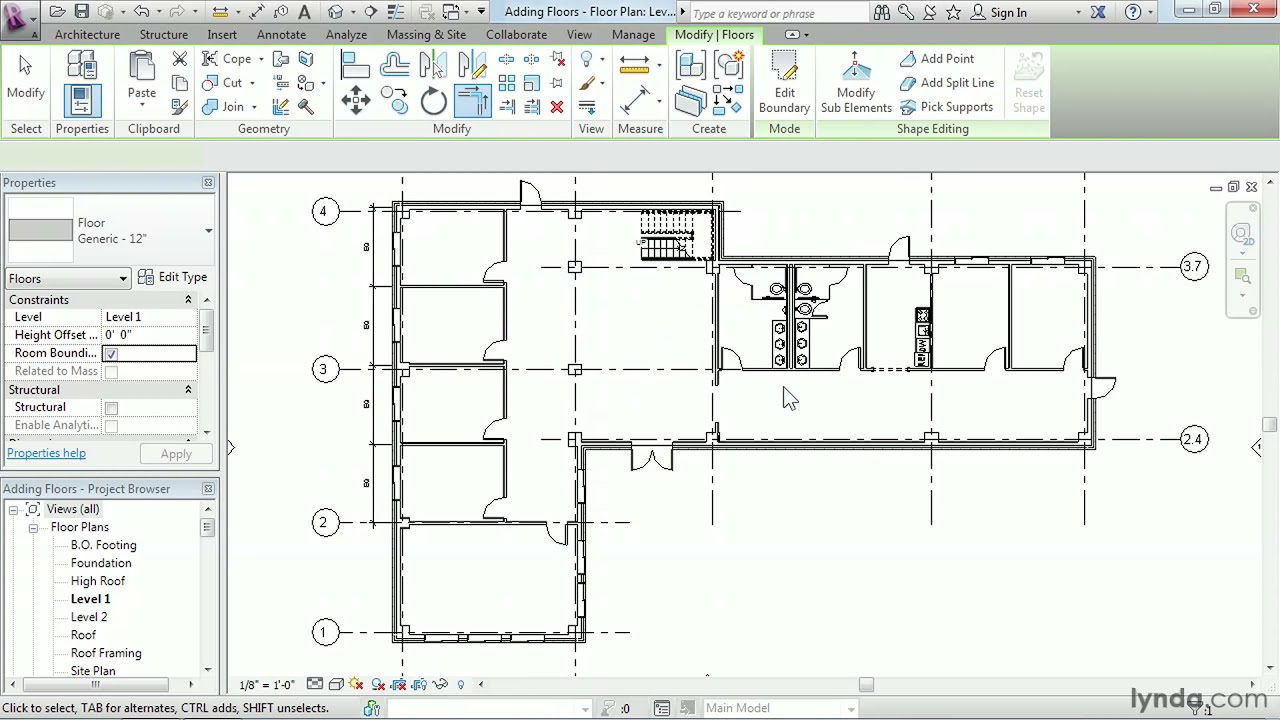
If we switch to a 3d view it is far easier to see what is going on.
Under the modify create floor boundary tab the boundary line tool is the default revit has already chosen for us.
To create an opening in the floor you can sketch another closed loop where you want the opening to appear.
Click architecture tabroom area panelarea drop down area boundary line.
Open an area plan view.
To sketch the profile of the floor click modify create floor boundary tab draw panel and select a sketching tool.
Make sure you place it within the boundary of the floor element.
We keep that selected.
Revit dynamo create wall by floor boundaries.
Draw or pick the area boundaries.
You can envisage that this point may represent a drainage point in our floor that we want to slope down to.
So i was quite pleased to discover collector elementsketch in spring nodes.
Type id floor types.
If can t find matchign floor type name will use the first one found.
To sketch the profile of the floor click modify create floor boundary tab draw panel and select a sketching tool.
The floor boundary must be a closed loop.
First you can automatically draw area boundary lines for your planting plans.
Area plan views are listed in the project browser under area plans.
And particularly for floors you can use boundary lines to create duplicate floors.
If it is not active click modify create floor boundary tab draw panel pick walls.